It’s quite common to fall prey to typos and grammatical errors while we’re hunched over our keyboards, typing away at lightning speed. Sometimes, we don’t notice it all while we proofread our final drafts before printing and a few mistakes slip through our fingers and onto the pages.
There are also instances where ink cartridges choose to malfunction while you’re printing, leaving you with pages that look like a tiny squid just traipsed above it.
Regardless of the cause, don’t worry too much about it because there are solutions you could try out to rid yourself of printer ink. And no, ripping up all the pages into shreds and flushing them down the drain due to sheer annoyance isn’t one of them (although that would admittedly help with the frustration).
Contents

Before you begin, there are a few things you would need to do: carefully read through the material and identify where omission is required, and determine what kind of printer was used – was it InkJet or LaserJet?
For InkJet printers
1. Try Your Luck With Cotton Balls
The chances of this hack solely depend on your timing; the ink stays wet a few minutes after printing so if you spot the error before the ink dries, then you’re in luck!
Make sure to not use brute force or abrasive motions as this can rupture your page. Just grab a clean cotton ball and lightly dab on the error. The cotton ball should soak up the wet ink if you hold it over the area and apply slight pressure.
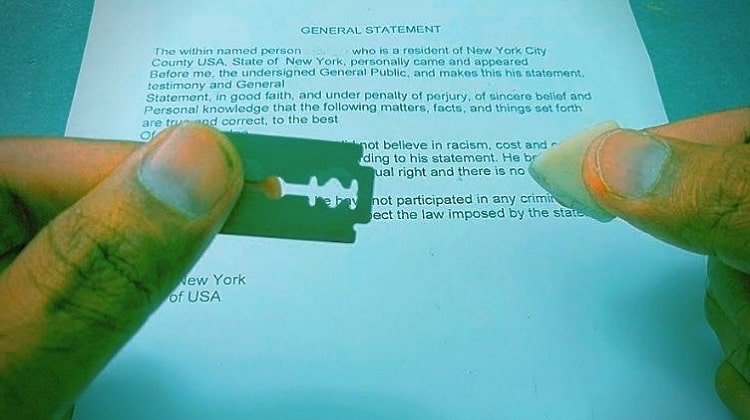
2. Use A Razor Blade
This method has been a tried-and-true for some while now and it’s relatively easy to do all by your lonesome. However, as we’re dealing with a rather dangerous tool, remember to never be absentminded while you’re handling the blade, and more importantly, always exercise caution.
The only two things you’d need for this are a razor blade and an eraser. Hold the razor directly above the word you want out – exactly 90 degrees above the page – and begin scraping the top of the paper lightly in one direction. Blow the tiny clumps of paper away and erase gently over the spot.
If you see that you still have a long way to go, repeat this process until there is no trace left.
3. Try Out Sandpaper
Just like the previous strategy of using a razor, you can also use sandpaper. If you do try this, make sure that the sandpaper you’ll be using isn’t too large. Cut it into an appropriate size so you don’t damage any other areas of the page.
Place the page flat on a table and hold it still with your other hand. Then, use the sandpaper to gently scrape the ink off the page. Remember to not rub too vigorously otherwise it’ll lead to tears.
The friction from the sandpaper will chafe the top of the page, leaving you with a blank slate.
For LaserJet Printers
1. Turn To Acetone
The ink from LaserJet printers amalgamates with paper at very high levels of heat which is why sometimes; the previously mentioned techniques may prove to be ineffective. If you see that nothing else seems to work, you can try using acetone.
Take a clean cotton ball and use it to soak up some acetone. Then, use your acetone-infused cotton ball and gently pat it on the affected area. Be extremely careful not to spill acetone anywhere else on the page while you’re working with it. Acetone is highly flammable so be sure to not carry out this procedure when theirs a source of fire nearby.
Do not directly inhale the fumes or let them come into direct contact with your skin as it may irritate.
2. Wite-Out/Correction Tape
When all else fails, one can always trust write-out or correction tape to finish the job. Let the ink completely dry out if you don’t want to be left with an ugly grey smudge on your paper, then whip out your handy Wite-out or correction tape and let it do its job.
However, you will be left with a spot on your paper that has a different shade of white compared to the rest of the page. But that’s a small price to pay when it comes to hiding embarrassing mishaps.


