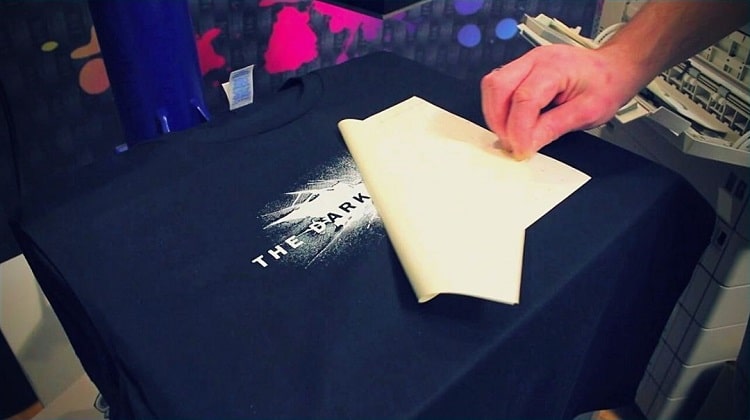
Heat transfer paper, usually weighing between 90 to 120 gsm, is often used by people in the clothing business to successfully paste their printings onto t-shirts. It can be easily fed to most printers, be it laser or inkjet given that for laser printers you use laser HTP, and for an inkjet printer, you use inkjet HTP. Either type of printer can be used to print vector images; however, images that use pixels better be printed with an inkjet printer to allow enhanced quality prints.
Generally, separate types of transfer are also used based on the color of your t-shirt; two such types of HTP are available: light transfer paper and dark transfer paper. Before printing, make sure to go to your printer properties and change the paper type to heavy. Other than this, no special care has to be taken to print on transfers.
Contents
Printing White Text On Light Transfer Paper

Light transfer paper is only suitable for printing on t-shirts that are white or a very pale pastel shade. If you print on medium-toned pinks or blues or yellow, it is very likely that your white text will have a mixed hue of the background color.
If your t-shirt is light-colored, you can use this to print white texts on your t-shirts. Use normal printing procedures to select an image of your choice and make sure it is mirrored as the paper is going to be placed face down while heat pressing.
Once you are done printing, cut out your design and place it on your shirt (which must be wrinkle-free) print side down. Make sure your iron doesn’t give off any steam and press it down on the sticker, heating it slowly by moving the iron around (time for heating depends on the size of print). Take off the back of the sticker to find your text printed on your shirt.
Printing White Text On Dark Transfer Paper
Dark transfer paper can be used to print on both, dark and light shirts. It allows white texts on dark surfaces without any interruption from the background.
Print out your image using normal printing procedures (when using dark transfer paper, the image doesn’t have to be mirrored) and cut out your sticker. Peel off the back and place it on top of your t-shirt, this time print side up while covering it with iron paper (tissue-like paper usually provided with the transfers). After making sure your iron is giving off no steam, slowly iron the sticker for a few seconds allow it to paste on your shirt. After a few seconds, remove the iron paper and allow it cool for a few seconds, and then feel free to wear your t-shirt whenever you like.
With the aid of transfer papers, and the instructions mentioned above, you are now free to print out your own personalized shirts whenever you want. The papers are low priced and yet get the job properly done, meaning you can use them to produce designed t-shirts for any occasion.


