Making your own personalized stickers is not a big deal these days. With the help of some apps and printers, we can easily design and print our stickers which help us ornate our belongings and surroundings the way we want to while also making our things stand out from everyone else’s.
While normal stickers are cheaper, they do not stand a chance against the weather unlike vinyl stickers which are water-resistant and long-lasting as they do not tear easily; it is also more flexible, allowing to be pasted nicely onto curved surfaces. Upon removal, it leaves no residue and if stored safely by sticking to a plastic sheet, it can be reused even after years.
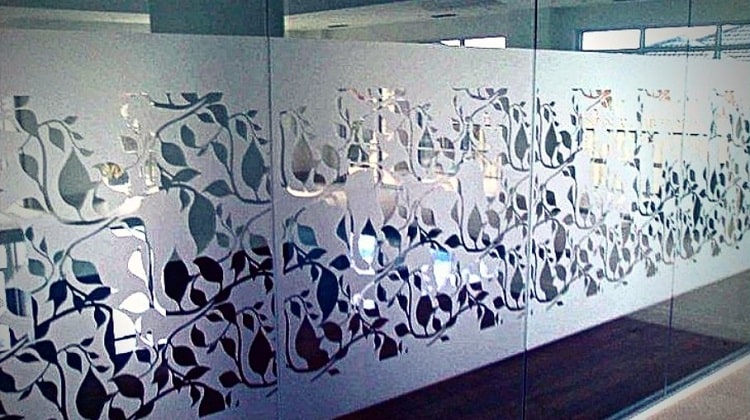
Often enough, vinyl stickers are used to adorn glasses in front of restaurants, cafes, or hotels. It can also be used by a certain company to mark their items. This is possible due to the glossy, smooth texture of the glass. Thus, you can also use it to accessorize your own dull-looking glasses at home.
Contents

Type Of Paper To Use
If you are looking to print vinyl stickers that you can stick to a glass surface, the types of vinyl paper you can choose from including White Glossy Removable Vinyl, White Matte Removable Vinyl, and Clear Removable Vinyl
Remember that:
- Clear vinyl is not suitable for sticking on dark surfaces.
- Glossy vinyl is not the best option to choose if you are going to paste your sticker outdoors.
- Matte vinyl is not glossy and thus, some don’t like the image quality on it. However, it is more reliable when it comes to washes.
Printer To Use
Before you get to printing, do check whether your computer supports printing on vinyl. Most printers these days allow printing on vinyl. Some common companies include HP, Canon, Epson, and Brother. Both laser and inkjet are suitable for such printing jobs and no special type of ink is required.
Designing Your Stickers
You can choose to design your stickers either on apps like Photoshop or Paint; however, it is better to use sticker-making apps like Silhouette Studio which permit you to effortlessly design stickers whilst also helping you prepare to cut them. These apps come with their sticker banks which contain thousands of images that you can choose from to birth your creativity.
Feel free to check out designs online to help yourself get better inspirations.
If you are going to use a device for cutting:
While designing you also have to add cut lines; later you also have to make sure whether you want your cut lines to kiss cut (only upper layer will be cut) or Die-cut (will cut through the backing).
How To Print Your Vinyl Stickers
Insert Vinyl sheets in your feeder in such a way that the non-adhesive side gets printed upon. Change the printing quality to high and remember to adjust your paper type accordingly (setting it to glossy might be a good idea for glossy or clear vinyl) or you can allow the printer to auto-select the paper type by itself.
Follow normal printing procedures to get your prints. It is advisable to print out on plain A4 paper before directly printing on the vinyl sheet to make sure you are content with the color, dimensions, and look of your sticker.
How To Cut Your Vinyl Stickers
If you are using a die-cutting machine, for example, the Silhouette Cameo, Brother, or Circuit, allow it to cut through the designated cut lines, and then your stickers are ready for use or sale.
If you are not a regular sticker maker (likely, you do not have a machine for cutting purposes as this will add to your expense) then, you can choose to cut it with scissors or anti-cutters. With your stickers ready, all you need to do now before pasting them on your desired surface is to remove the plastics sheet on the back. If you wish to remove the sticker later on and stick it to some other surface, you might want to keep the backing so that you can store it.


