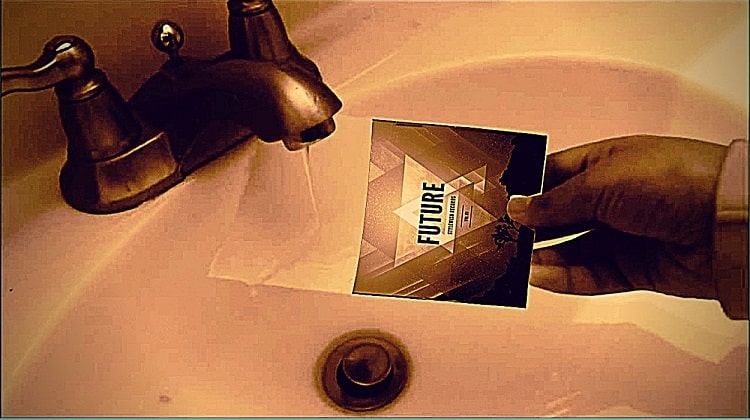
If you're like me, you have a bunch of jars and containers stored in your pantry that are constantly being filled with new ingredients, then used and cleaned again. It can be really frustrating when you finally find the perfect recipe, only to realize that the labels on the ingredients have faded or peeled off. Here's an easy way to make your labels waterproof so they don't fade or peel off no matter how many times you wash them.
Labels need to be durable. Water, moisture, and dirt are the main things that can destroy a label; therefore, waterproofing a label is essential. In today's article, we are going to show you a few methods to do it.
Contents

Type of Printer to Help Make Your Labels Waterproof
We recommend using a laser printer.
Laser printers use toner, which infuses the ink onto the paper permanently. Droplets of water or moisture on that ink aren't going to damage the label.
While Inkjet printers can print water-resistant labels, the labels won't be completely waterproof. Inkjet printers use water-based inks, and the label will smudge if it comes in direct contact with water.
Type of Ink to Help Make Your Labels Waterproof
The best solution is to use UV-resistant inks.
Even if rubbed on, scratched, or smudged, nothing will happen to a label printed using UV-resistant ink.
Postprint Protection for Labels Waterproof
1. Overcoat Spray
A good example of an overcoat spray can be aerosol sealant spray. These sprays seal the labels preventing the ink from scattering by using a layer of clear shellac.
STEP 1: Take the sheet of the labels that you intend to waterproof.
STEP 2: Remove the face sheet material which is covering the labels.
STEP 3: Place the sheet of labels on a clear surface.
STEP 4: Take your can of aerosol sealant spray and shake it vigorously.
STEP 5: Spray all over the label sheet keeping a gap of 10-12 inches between the label surface and the spray can. Spray until there is an even coat.
STEP 6: Wait for at least 15 minutes for the labels to dry properly.This waiting time ensures labels have been waterproofed completely.
STEP 7: After 15 minutes, you can take the labels off the sheet and apply them over the surface you want to put on.
2. Overcoat Cover
When it comes to using an overcoat cover, the best thing out there is a laminating sheet.
Step 1: Place a laminating sheet over a clear surface. Make sure that the laminating sheet is slightly bigger in size than the label.
Step 2: Place the label on top of the laminating sheet.
Step 3: Place another laminating sheet over the label to enclose the label. Using your fingers, rub over the laminating sheet to ensure no air bubbles present inside. Your label is now waterproofed.
Related posts:


